

4 Simple Steps to Create Your Organized Kitchen
/
How many times have you bought another can of food without realizing you already had 3 in the pantry? Do your countertops feel piled and cluttered? Or maybe your kitchen just feels dysfunctional? If you feel any of these, an organized, clutter-free kitchen is exactly what you need. In 4 simple steps, we can remove the clutter and add the organizer spice your kitchen needs to look and feel amazing! Let’s dive in.
Step 1: Declutter and Purge
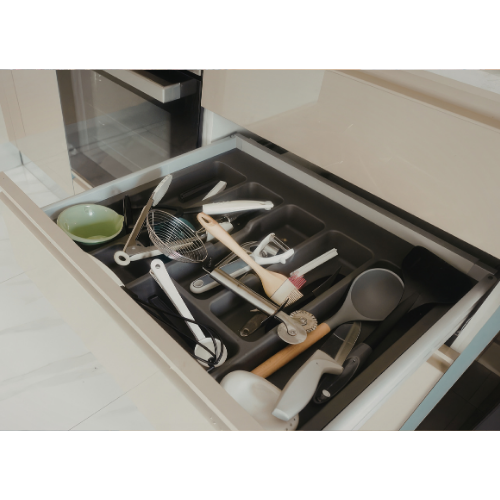
When organizing your kitchen, we have to start by getting rid of what we don’t need, like those hidden expired cans of food at the back of the pantry. Start in one section at a time, for example, one pantry shelf. Work through it, looking for expired foods and foods you don’t think you’ll actually use. You can toss the old food and add the unused, good foods to a box to donate to a local food bank. Now, work your way around the kitchen, finishing out the pantry, and working on one section at a time. This includes drawers of kitchen utensils too, getting rid of duplicates and broken items! (*Tip! Ditch your old black plastic spoons and spatulas and opt for platinum-grade silicone, solid wood, or stainless steel. It’s a healthier choice!)
Step 2: Zoning
Once the kitchen is decluttered, it’s time to make the space functional by adding zones. Here are some example zones:
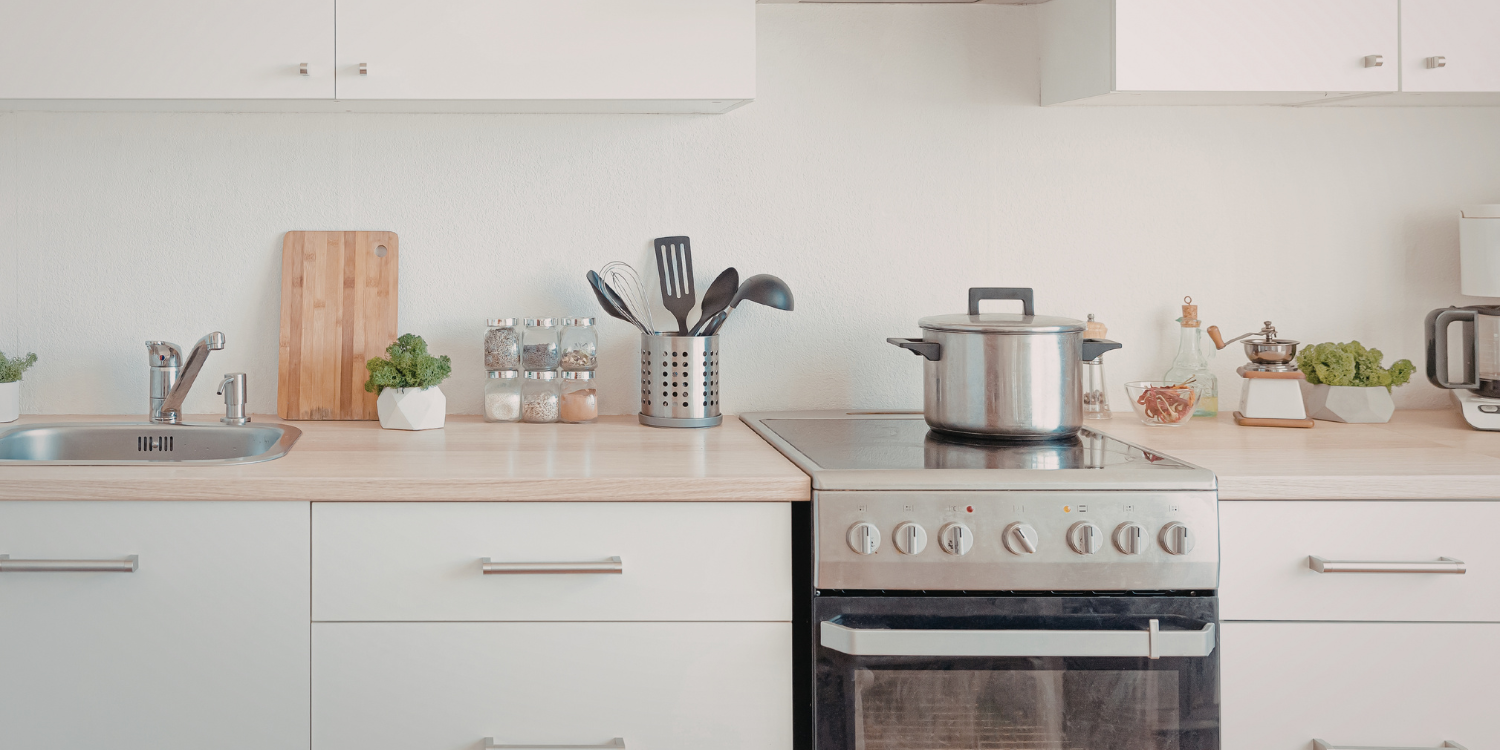
Cooking zone: This is where you would keep your spatulas, spices, and cooking oils close by, whether in the cabinet next to the stove or on the counter.
Prep zone: A prep zone can be where you keep your countertop knives, cutting boards, and tools to prepare veggies/fruits.
Clean zone: The clean zone should be near the sink, keeping things out of the way to make cleaning up and washing dishes easier.
Specialized zones: You can add any zone you would like, such as a coffee zone with all of your coffees, syrups, and utensils or even a quick food grab zone packed with granola bars and nuts.
You can have any zone that works for you, just make sure that whether you’re cooking or just grabbing some food out of the door, you know exactly where the items are, and you can navigate them with ease and without random clutter! Pro tip: no matter what the zone is, try to keep the countertops as clear as possible, creating a more organized and less cluttered environment.

Step 3: Organizing Tools
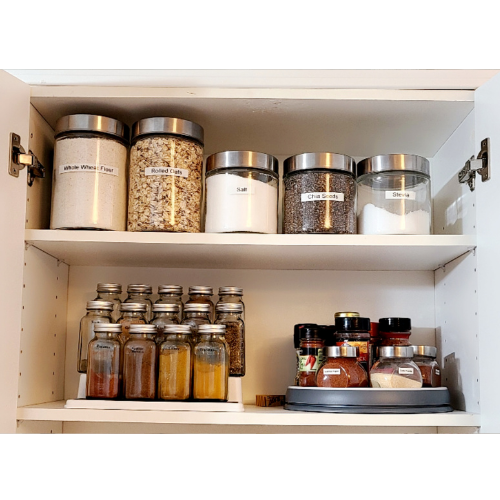
Uplevel your organization by adding organizing tools to your kitchen. You can add baskets and acrylic bins to your pantry to keep like-items together. Utilize acrylic bins and turntables in your refrigerator for easy access and easier cleanup if something gets spilt. Drawer dividers are a great addition to keep utensils from getting jumbled together. Utilize vertical storage by adding door hangers to the pantry for quick snacks.
Step 4: Maintain the Organization
Add labels to whatever you can so you can quickly glance and see what goes where. This is also very helpful when checking what you have before a grocery trip, saving you time and money by not buying items you already have! Set up systems to maintain this organization, such as a daily pick-up. It can be only 5 minutes, focus on clearing off and wiping down countertops and tables, ensuring the dishes are done, and making sure food items are in their right places.
These 4 simple steps can create a kitchen environment that brings you joy and calm. No more searching for an ingredient to find it has expired. No more spending money on extra food you already have. And no more stress from a disorganized space. Just making nourishing meals for you and your family, and enjoying doing it!
Ready to create an organized, functional kitchen, but don’t have the time?
I would Love to Organize for you!
